Wednesday, May 27, 2015

Custom Porch Sign

My brother in law just finished building his covered back porch.  It's a great little spot where all  the guy's like to hang out.  Kind of a man cave without the cave aspect.   It's on the north side of their house and surrounded by trees so it's always in the shade and will be  a cool refuge on hot summer days.  My husband came up with the idea to make a custom sign that said "The Place to be" as a porch warming gift.   After mulling it over for a while, this is what I came up with. 


It's  a piece of plywood about 18" wide and 21" long.  It was left in the scrap pile at a construction site.  My man sometimes brings me cool things like that.  He's awesome.


I painted one coat of DIY chalky paint and then used some copy paper to transfer the lettering and the Molson Canadian maple leaf logo onto the board. 


After filling in the lettering with a fine paintbrush and black craft paint I painted the leaf.  Then I used a wet cloth to distress the corners quite heavily.  I wanted this to look like it had been sitting in a guys workshop for a while.  A few flicks of (accidentally) splattered red paint help the effect.


I finished it with a coat of dark wax.  It's amazing how adding dark wax instantly takes away the just made look. 

I'm really happy with how it turned out and I'm sure it will look great on the man cave porch. 


Antiques or just old stuff....it's all good

I had a board and it was like having money burning a hole in my pocket.  I had to do something with it.  I had a little of the Minwax Provincial stain I used for my coffee table makeover so I stained it.  Because the wood was really rough in spots and smooth in others  it took the stain kind of uneven.  I liked the way it looked though.


While it was drying I browsed through a bunch of pinterest signs.  I didn't find anything I wanted to copy but I did get an idea.

I used my word pad to print out my lettering. Then I transferred it to the board by covering the back side of the paper with chalk and tracing over the letters on the front of the paper to leave the chalk print on the dark stain.  This transfer method is really easy and I like it for anything on a dark background. 

I filled in the lettering with some DIY chalky paint and a small artist brush.  The stain was a little bit tacky while I was painting and when the paint dried I found there was a  bit of bleed through.  It made the lettering look old so instead of another coat I just left it.  I didn't even distress this one because I loved it the way it looked.


I love how the letters look weathered without distressing. What a happy accident.


So what do you think.  Should I repaint the letters or leave it as is. 

Monday, May 25, 2015

Laundry Room signs

I wanted to have a few little signs for decorating my laundry room and this is what I made.  They are free hand instead of stenciled and I think they are kinda cute.  Very easy projects are my favorite and these fall into the easy peasy category. Just a few boards a little paint and taadaa.


Thursday, May 21, 2015

Poster Transformation

My husband has had this Beatles poster for as long as I can remember.  If you ask anyone who knows him they will tell you he is obsessed with the Beatles and their music. 


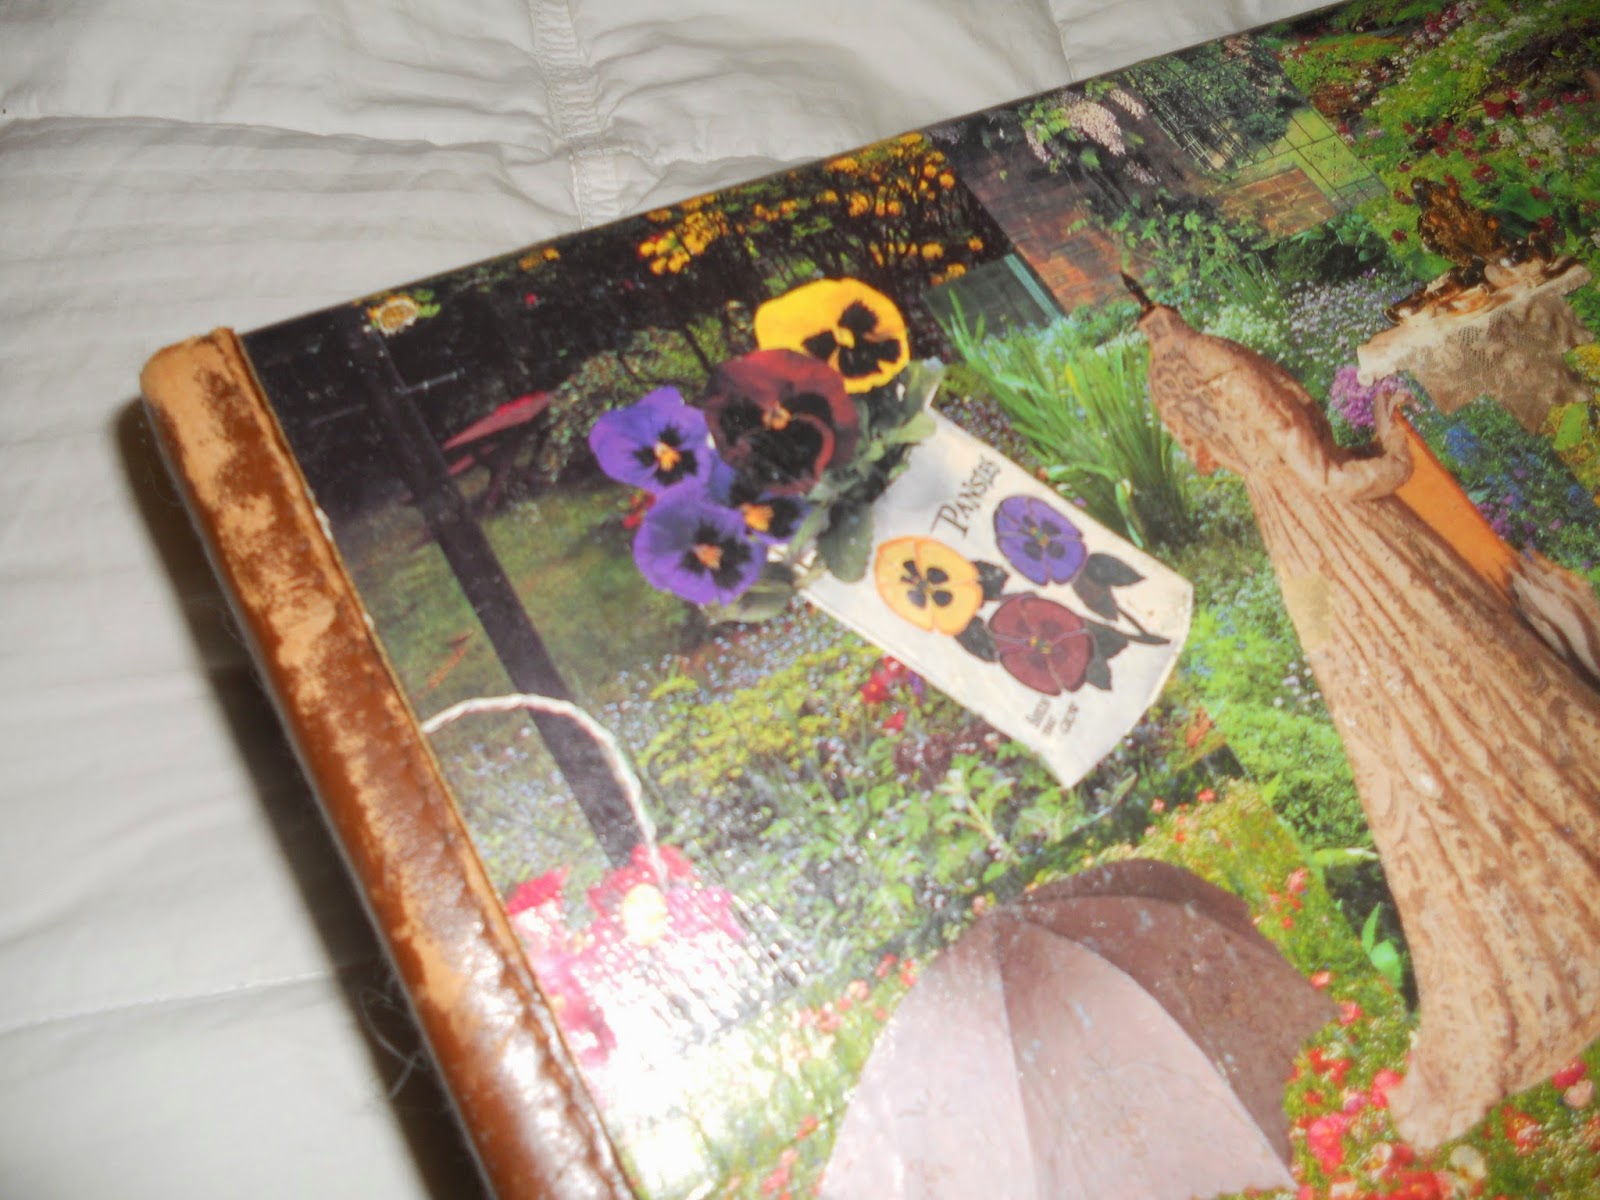
I found a poster at the thrift store for a couple of dollars that had nothing to do with the Beatles, it was an Anne Geddes, but it was the same style as this one.  They are made from chipboard and have the picture glued to the front and a glossy coat added to the top. You know the kind I'm talking about. The Beatles one is 24" x 36" and the one I found was 12" x 36".


My first attempt at this was a total fail.  I sanded the top of the picture thinking it would help give it some tooth.  Once I had the primer on the whole thing started to peel.  The shiny surface on these posters is really a plastic coating.  Tip: do not sand the plastic coating. 

In hind sight the DIY chalky paint I use as a primer probably would have stuck to it just fine.
Oh well, not one to be deterred I just flipped the board over and filled the little slot at the top for hanging with some wood filler and sanded it smooth.

A coat of primer, and a coat of white paint gave me a nice clean surface for the lettering.  For this project I printed it out from the  computer and transferred them to the board. Just cover the back of the  printed pages with pencil, flip them back over and then trace them onto your project.  Then using a small brush, fill the letters in with black paint.

Once dry I had to give it three coats of sealer to get a shine similar to the Beatles poster.  I think they make a good pairing, and hubby was pleased with what I made for him.  These are going to look great in his music room/office. 
Now that I know  these old posters will make a great surface for other projects like this, I'll definitely be keeping an eye out for them. woo hoo


Wednesday, May 20, 2015

Rolling Pins display


I love rolling pins.  I didn't start out trying to collect them on purpose, but rather found myself in possession of a nice half dozen.  One belonged to my mom and one to my grandmother.  One belonged to the mother of a dear friend and one is mine.  I picked the other two up at a thrift store just because they seemed abandoned to me.  Rolling pins are infused with the memories of endless family dinners, fabulous desserts,  successes and failures. Birthdays and holidays, weddings and wakes. It breaks my heart to see them tossed away.


So where do you keep a half dozen rolling pins?  I've seen them displayed in wine racks, and in vintage sap buckets.  I've also seen them filling a large wooden crate.  However;  six rolling pins is not really a collection....yet.  I do think  they deserve a place of honour, so I hope they enjoy the special spot I created for them.


This project doesn't need a drawn out tutorial. I just painted a board, distressed it a bit and added some appropriate text by hand. The little hooks are perfect for this use.


Some of the rolling pins had a little hole at one end so I drilled one in the others as well.  A little loop tied with a piece of jute twine and it all just goes together.  Easy peasy, and I love how they look on my kitchen wall. 


It might not be a huge collection but it just might be the beginning of a collecting habit.

Tuesday, May 19, 2015

Mason Jars in the Bathroom?


I'm  working my way through the mason jar projects I have on my  Pinterest board called "mason jar love" found here.  While this is one of my fun goals right now, I still have to keep need in mind.  And what I need right now is a way to keep our bathroom counter paraphernalia a little more organized.  We don't have any drawers in our vanity and little baskets stored beneath the sink get lost.  I always find the one I want at the very back.


I found what looks like the foot board of a bunk bed on the  curb a few weeks ago and  I rescued it.  I didn't know then what it was for so  I mulled it over for a while and it finally came to me. It was just a little longer than the width of my bathroom mirror.  At first I thought of turning it into a shelf some how but I actually have lots of counter space,  its storage I need.  And by the way.... lots of counter space is not always a good thing. Some times its just more surface to collect stuff that doesn't get put away. grrrr.


This is where the mason jars come in.  I had this idea pinned here on my Pinterest  board so I went right out to the hardware store and bought four hose clamps .... cost $7.97  I measured my foot board and made pilot holes to evenly space my jars.


I primed the board with my DIY chalky paint and gave it a top coat of this really pretty paint called "Lovely in Linen" by Beauti-Tone.  It reminds me of the colour of lambs ear in the garden, that soft silvery gray/green.


When it was nice and dry I  screwed on the hose clamps then added my mason jars and tightened  them in.

 
Using nice long screws I attached the whole thing  to the wall above the sink.  I added a hook at each end for a place to hang a face cloth and hand towel for each of us and now I love how tidy all our mess is.
 
 
The hose clamps cost me $7.97,  I found the board, and everything else I had on hand.  It took about an hour and half of my time, including waiting for the paint to dry, and all the clutter around my sink is now nice and tidy.  I call this a complete success. Yay


Friday, May 15, 2015

Painted Mason Jars

My first mason jar project was my mason jar soap dispensers found here and at the end of that post I decided I would work my way through the ton of projects that I have saved on pinterest.

The other day it was rainy and cold and I was looking for a small indoor project.
I got out a couple of mason jars, some leftover chalky paint and a few little bits of ribbon. I think I'm the very last person to finally try painting mason jars but I have to tell you I am really surprised at how pretty these really are.  It's also a really great way to use up bits of leftover chalky paint as well because it takes such a tiny bit to cover the jar.


 I decided to put on a dark coat first then a light coat because I wanted the raised parts to stand out a bit when I sanded them. 


While I had the paint out I dug into my stash and found this silver tray from the thrift store so it got a coat of paint too. Some sanding of the edge of the tray and the raised lettering on the jars. Add some ribbon around the top and I'm really pleased.  Aren't they pretty.


I had a bit of the light colour paint left so I used it on these two little dogs.  Also found in my stash they were  bookends but I never used them so I took the bottom pieces off.


They add just the right touch for little displays around the house.


To brighten up a shelf in my china cabinet until I get around to painting it.


And on this vintage tray.  You can see the tray makeover here , it was actually my very first post.


So if you find yourself with a little time on a rainy day start painting a mason jar.  You never know what it will lead to.

Wednesday, May 13, 2015

Vintage Mod Podge?

I thought I'd share a few of my earliest mod podge projects today.   I did these when mod podge only came in one type. No sparkles, no matt finishes, just plain old mod podge.  I think you will agree with me that this stuff really stands up to the test of time . 


I had an old suitcase that was really banged up and  I almost tossed it... this was back in the day when I wasn't repurposing everything.  Of course I don't have before pics of it because I had never  heard of a digital camera, a blog ... or a computer either for that matter.  I'm talking early 1970's.   I was into gardening and décor magazines back then so I started by cutting out a ton of pictures and trimming them out so no background showed in the pictures.  Then using my mod podge I completely recovered the suitcase with a collage of my favorites.


I think you'll agree that after more that 40 years this looks fabulously shabby.  It's one of my favorite items.

Then around the mid 80's my wonderful husband had this guitar case that was battered and scratched and had seen better days.  I thought it needed a facelift so together we spent hours going through his music magazines and searched for  just the right pictures to showcase his love of rock music and his favorite musicians.  Here's what  I decided to do with the case.  Instead of a full coverage collage I just kept gluing until I was happy with the final result.  I have to tell you this guitar case has endured almost 30 years of hard use and is still standing up well. 


I love that this guitar case has become one of my hubby's favorite treasures and that both these items have endured the test of time.