Showing posts with label Organizing. Show all posts

Saturday, August 8, 2015

Motel Headboard Re-Purposed


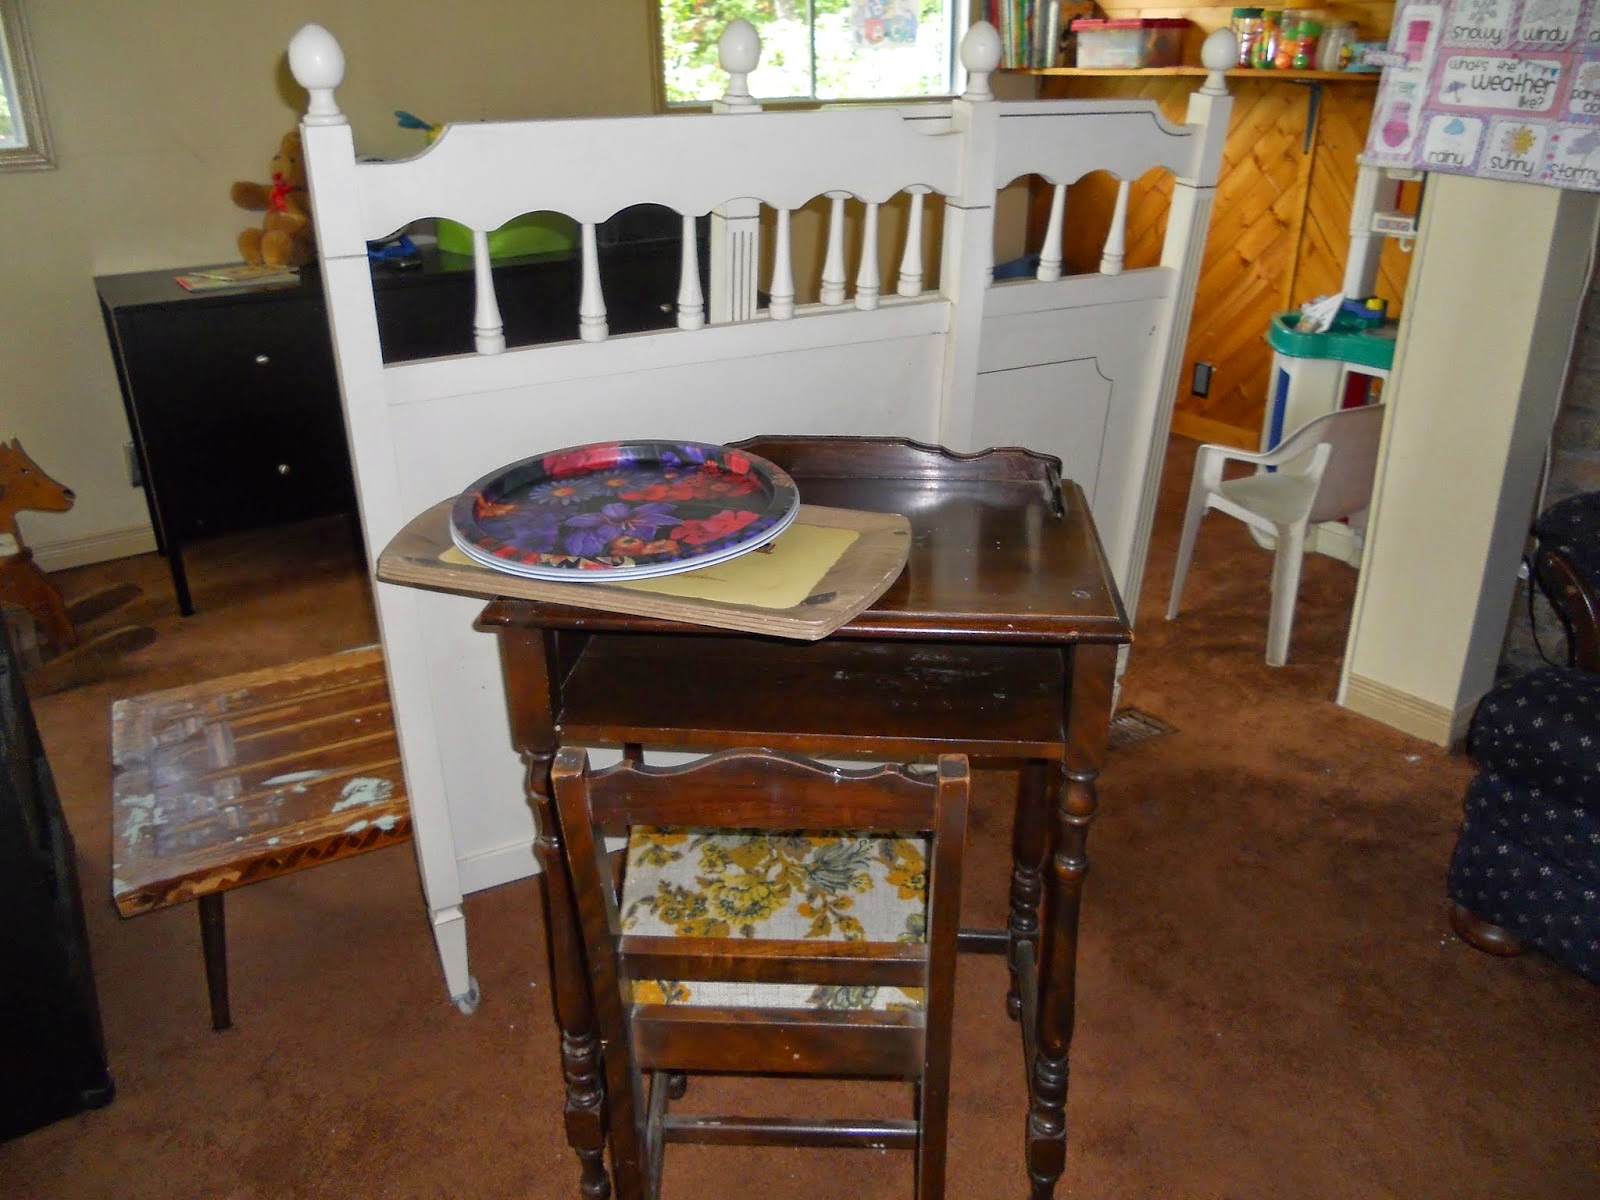
The brown board you can see in front of the old doors in this pic was a curbside find from a pile at a motel undergoing some renovations.  It has a french cleat on the back because it was originally a headboard.  That's right , those plain motel headboards are attached to the wall with a french cleat and are surprisingly heavy.  I grabbed three doors from the same pile.  It was quite a score.


I gave the headboard a thorough cleaning with some hot water and TSP and a couple of coats of this green chalky paint I had at the time and used it as a headboard for a while.  It was only a temporary fix though until the room changed.  


To re-purpose the headboard I removed the cleat from the back and painted the center with a DIY chalk board paint.  It's just some black craft paint that I mix with a teaspoon of plaster of paris . 


I painted the frame in this barely there gray called "Lovely in Linen" from BeautiTone.  You can see it has these subtle undertones of sage green.


I cut a section of the french cleat to fit the shorter end so I could hang this chalkboard vertically, and it is the perfect fit for the space between  two doors.


Tip:  If you haven't used a french cleat before, it's the perfect solution for hanging really large and extremely heavy pieces like this chalk board  or large mirrors. All you need is one 4" wide board cut slightly shorter than the piece you want to hang.


Make a diagonal cut lengthwise so you have two pieces that are the same. Attach one to the back of you piece and the other to the wall.  Make sure you attach the side of the cleat the is narrowest to the wall and the same to your piece.  When you go to hang your piece the one side will hook over the other side and snug into place.


Now I have a long chalkboard that fits nicely between these two doors on one wall of my kitchen.

To turn this piece into a message center here's what I did.


I attached a little screw right at the top to hang a calendar.  I flipped ahead a month because this month has a lot of notes on it already.


I cut the bottom of a little plastic bottle and painted it to match the frame.  I attached it with   screws and filled it with some pens, markers and chalk.


A cup hook to hold scissors.


A few little screws added to hang clip boards and even one to keep the ruler handy.


Then a quick trip to the thrift store for a few little baskets. I don't know what these were originally used for . They are vinyl covered wire.  I gave both a coat of matching paint.  The smallest one holds incoming mail.


The larger one  holds  note books and receipts pads.

So here is my message center all finished.


This is perfect for me.  It has a chalk board to take down quick phone messages until they can be taken care of.  And  paper mess  mail that gets dumped on my island can now be put into the baskets until it's dealt with.  


My receipt books for daycare are always right at hand.  I can grab a pen, or marker when I need it, instead of the regular "hang on while I grab something to write with" scenario that usually happens when the phone rings.  Even scissors to clip coupons are handy.


And here's the very best part of this project. The headboard was a curbside find. The paint was left over from other jobs.  The baskets came from the thrift store for $1.  Everything else I had on hand.

There isn't a lot you can make for a buck, and I'm super happy how this one turned out.

Saturday, July 4, 2015

One piece... Three Projects. -part three - Paint Caddy

A while back I traded up for a vintage style wash stand. If you read that post you will remember that it was really wobbly and missing a few pieces to fix it entirely.
The bottom part of the wash stand was done over and used (once again) as a wash stand. See that post here.

The second part of that project was the Tween Vanity I created by using the mirror from the wash stand on a early 1900's oak desk.  See that post here.

From the beginning I said  I could get at least three projects from the wash stand.  Well I still have a bunch of little spindles left over from the mirror.  This is what I did with one little piece.


I attached four soup cans to the bottom of the spindle with little  screws, and spray painted it. I threw some pencils and things in it to see how well balanced I had it..  but it was a bit wobbly so I wrapped the cans in jute twine to keep everything together and stable.  Of course I wrapped the handle too, just because I wanted too.


Now I have this cute little caddy that holds all my painting tools.  Lovin' how I can grab them and go  to where ever my current project is happening.


This little caddy could be used for picnic cutlery, for makeup brushes, or for art supplies. What would you use it for?


And there are still spindles left.  I'm sure I will think of another use for them.

Tuesday, May 19, 2015

Mason Jars in the Bathroom?


I'm  working my way through the mason jar projects I have on my  Pinterest board called "mason jar love" found here.  While this is one of my fun goals right now, I still have to keep need in mind.  And what I need right now is a way to keep our bathroom counter paraphernalia a little more organized.  We don't have any drawers in our vanity and little baskets stored beneath the sink get lost.  I always find the one I want at the very back.


I found what looks like the foot board of a bunk bed on the  curb a few weeks ago and  I rescued it.  I didn't know then what it was for so  I mulled it over for a while and it finally came to me. It was just a little longer than the width of my bathroom mirror.  At first I thought of turning it into a shelf some how but I actually have lots of counter space,  its storage I need.  And by the way.... lots of counter space is not always a good thing. Some times its just more surface to collect stuff that doesn't get put away. grrrr.


This is where the mason jars come in.  I had this idea pinned here on my Pinterest  board so I went right out to the hardware store and bought four hose clamps .... cost $7.97  I measured my foot board and made pilot holes to evenly space my jars.


I primed the board with my DIY chalky paint and gave it a top coat of this really pretty paint called "Lovely in Linen" by Beauti-Tone.  It reminds me of the colour of lambs ear in the garden, that soft silvery gray/green.


When it was nice and dry I  screwed on the hose clamps then added my mason jars and tightened  them in.

 
Using nice long screws I attached the whole thing  to the wall above the sink.  I added a hook at each end for a place to hang a face cloth and hand towel for each of us and now I love how tidy all our mess is.
 
 
The hose clamps cost me $7.97,  I found the board, and everything else I had on hand.  It took about an hour and half of my time, including waiting for the paint to dry, and all the clutter around my sink is now nice and tidy.  I call this a complete success. Yay


Friday, February 13, 2015

Pretty Bathroom Storage

In December I made a few Apothecary Jars for storage in my bathroom. You can read that post here.  While I loved the idea I wasn't happy with the metallic champagne colour I choose.  The fixtures in my bathroom are chrome so I wanted a display to match.  I bought a can of chrome spray paint and brought together a few items I thought would make a good display.


I had this vintage dressing room tray that was a yard sale find many years ago.  I never really used it, it just landed in my stash of future projects.  It had a metal frame, a mirror that slid out  similar to  a picture frame and there were tiny little feet on it to protect your dresser top.  As much as I loved it I was never sure what to use it for.  Of course I always have jars in my stash and I had a couple of candlesticks as well.


I put the tray frame in my spray booth a cardboard box and gave it a good chrome paint job.  I painted the jar lids and the candlesticks as well. 


I used an epoxy to glue the candlesticks to two of the jars, I left the other two without stands.  I want some little glass knobs for the tops of the jars, so I left them for now hoping I will find just what I want later.


I assembled the tray, the jars, and my little perfume bottles on the bathroom counter below a shelf that was already there.

I like this little display much better than the original jars. All the little odds and ends for hair and nails are gathered in one place and my necklaces are hanging and easy to find,  instead of all tangled in a drawer. 

I'd love to hear from you.
Please leave a comment and tell me
what you think of todays post.

Friday, February 6, 2015

A Pantry Storage Idea


I've see this little can storage box made from a pop can case in a few different places.  I can't remember where I saw it first so I'll just show you the one I made. 


I had a few paper options for covering this.  Craft paper, or wrapping paper would have added some nice colour, but I chose to use this scrap bit of wallpaper because it was nice and stiff and because it had a vinyl washable surface. 


First make a few cuts in you box.  The piece that comes out naturally for pop can removal is fine for the front removal of your cans but you will want an opening in the back at the top as well, for restocking the cans. This way you are always using the oldest cans first and don't have to worry about items becoming outdated.


Lay your box on the paper you are using for the cover and carefully fold the sides up and over the top of the box until they meet, like you are wrapping a gift.  I used some spray adhesive on the box to glue it on.


With your scissors make some cuts in the paper so you can wrap over the cut edges in the box and glue the pieces over . Clothespins make a great extra hand to hold the pieces down until dry.


This is really easy and makes keeping the smaller cans in your pantry organized.  I use mine for soups, beans, smaller cans of fruit and any items that are small enough to fit. No more stacks of small cans tumbling over and making a mess.


I just marked my contents with a marker, but I think some chalk board labels would be great on the front of these boxes and make it a lot easier to change contents.

Tip: using the washable wallpaper was a really great idea and a lot of times you can pick up out of stock rolls at the store for very cheap. One roll would cover a lot of these boxes, and wallpaper also makes great shelf liner.


I'd love to hear from you.
Please leave a comment and tell me
what you think of todays post.

Thursday, January 15, 2015

Pantry from Sears Bookshelves. Part 1

I don't have a pantry but I really need one because my kitchen has very limited cupboard space. I currently keep items in the cabinet in the laundry room, and in a tiny kitchen cupboard.

I don't have the funds to build a pantry cupboard from scratch so I need to make this with what I have available. 


What I have is a pair of  well worn Sears  bookshelves that have been used to store stuff in a garage and then in a junk room. spare bedroom for years. They are worn and have holes where they have been screwed together and the back needs to be put back on one.  OH... and they are very very ugly.


I also have a louvered bi-fold door.  Now things don't usually work out like this but it just happens that this bi-fold door is exactly the same width as the shelves.  So far so good.


The shelves have this kick plate at the bottom, so if I turn one shelf over and stack them with the two tops together, this kick plate will be at the top and the bottom. 

 The two shelves stacked  aren't quite the same height as the shutters so it might take a bit of fiddling.
hmmm ... I'll need some hinges, some door knobs, and some trim... oh and paint.

I'm not sure it's  going to work yet so you'll just have to check back next week to see whether or not this is going to be a winner or a colossal fail.  Wish me luck.


I'd love to hear from you.
Please leave a comment and tell me
what you think of todays post.

Saturday, January 10, 2015

Chalk Boards for Staying Organized

Sometimes when you are thrift store shopping you will see items that are just so cheap that you know you need to add them to your junk stash.  This was what I made with just such an item.


I was cruising for yard sales while on my way to my regular Saturday trip to the thrift store.  That's what I do on most Saturdays.  There was only one little sale and it didn't have much in the way of furniture pieces. I don't usually stop at those ones but I did this time and bought  a little stack of four trays. They were a pressed paper that kind of felt like wood and they were really tacky.  I bought them anyway....hey they were a dollar, what can I say.  I should have taken a better picture but they are on the table under the round bar trays.  On my way back from the thrift store there was another yard sale, right on my street.  That's where I bought the little desk and chair from this post.


I feel horrible admitting this, but on the day I found these I missed a baby shower that I had planned on attending. I had the gift wrapped and ready, and I just plain forgot.  I felt horrible.  I really needed something to keep track of appointments and invitations.  I grabbed the four trays and using my DIY chalky paint... I used the blue because it was already mixed and left over from a little desk set...  and painted the trays blue.  It only takes about 20 minutes for this paint to dry so I taped off the center of each tray and gave them a couple coats of black chalky paint.


Because these little trays where so light I hung them using a single command strip.


Above the little desk I had already done they make a perfect little command center.  I really shouldn't miss another baby shower, or any other event for that matter.  It's been a while since I completed this corner, but so far it's working for me. 

Wednesday, January 7, 2015

Controlling my Book Habit.

This is the time of year when everyone is either trying to lose weight, trying to stop smoking or trying to get their homes organized.  It's those nasty New Years resolutions nagging at us.  Well,  I'm in the third group.
I have been working away in the kitchen, purging and organizing, trying to get things under control.  One of the things I need to control in my home is my books  This is how I've done some of it.


I'm a book lover. I like to read. I have some favorites I will even read over again and again. This goes for both novels and magazines.  I probably should have taken a picture of my magazines around November because they were starting to take control. There were piles in every room.  I needed to get rid of some,  so I went through them and took a bunch to our doctors and dentists offices.  Most of them were gardening and decorating mags of course, and I'm sure other people will enjoy them too. 


This is just one shelf and most of these are my husbands. Wonder if I can get him to give some away... probably not.
With my novels I did something different. I had full sets of quite a few series, plus a ton of individual paperbacks.  A while back, before there was snow on the ground, I purged a lot of them at a yard sale.  I then used the money to purchase my absolute favorites for my e-reader.  Now I can take my reading wherever I go.  I did however keep a lot of my hardcovers and anything I had signed by the author. 
I even kept a few of my favorite magazines and some hardcover gardening books.


I picked up these old crates and windows at a yard sale and  although I knew I loved the crate on top,  I wasn't sure what I'd use it for. I needed to keep it much the same as it was, I loved the HP sauce stamp on the side. (Did you know HP was the world's appetiser?)  And although you can't see it well in this picture, someone had written on the side of the crate with a grease pencil  "to Haliburton", and that's my town, so hey, I have to keep this one.


About the same time as the magazine purge I realized that the few  I wanted to keep would fit in this crate.  So in they went, and sat it in the corner of my living room.  Then I couldn't move it. Wooden crates filled with books are very heavy.  Well my junk stash had five casters that had come from another project so I added four of them to the bottom of the crate.  This solved the problem of moving the crate, now I can vacuum in that corner.


What I love about this solution is that the crate is exactly the same as it  always was and I know  it's original use.   Someone delivered goods to a store in my little town way back when, and people, who might be my ancestors, ate that product at the family dinner table.  That dinner was probably cooked on an old range or even a wood cook stove, and a whole family would enjoy it together.   One glance at my little book crate and I can envision the past, and that's even better than books.


I'd love to hear from you.
Please leave a comment and tell me
what you think of todays post.

Tuesday, January 6, 2015

Nesting? Not just for pregnant women.

I know that ladies purge, clean and nest when they are waiting to have a baby but we tend to do it at different times as well.  I am scheduled for a complete knee replacement in a couple of weeks and I have a real need to clean and purge before I go to hospital so that anyone who comes in after I get home doesn't have to see my mess.

Yesterday I started by working on my kitchen counters and coffee station.


This is what my cluttered counters looked like before.  Ewwww. Please don't judge me. Its a really tiny kitchen and I'm not the best at finding permanent homes for things so they tend to pile up.


First I moved everything from the counters to the island top . I didn't think to take a picture of this but just imagine a pile about two feet high balanced and ready to fall over.

Then I just sprayed and scrubbed everything with my homemade all purpose cleaner.  This stuff busts grease like nobody's business.  I works on everything from the walls to the stainless sink.


Then I started putting things back.   I purged as I went so some things got tossed and others found a new home, but it all got wiped down so it's nice and shiny.  I love how it looks now.


I had to do the coffee station too while I was on a roll. Here is the before.


I moved everything once again to the island and gave the shelves and buffet and good wipe.
then put it all back nice and clean.


I made the tiles freehand because I couldn't find a stencil I liked for here.


And the apothecary jars are just pickle jars and candlesticks. I love how they look and keep the tea bags, sugar and sweetener close at hand.  As you can see I have a thing for old rolling pins. A couple of those were from my grandmother and mom.


The coffee pods are in the drawer right below the coffee maker.  I use these ones and I keep them filled and ready. I like that they come in two colours for dark roast and decaf.  You can find them at Canadian tire at this link.  http://www.canadiantire.ca/en/pdp/cafe-cup-0430480p.html#.VKrxWSx0zVI   The cost savings are great and I don't have a ton of pods to throw away,  I just buy some special coffee once in a while.  And besides I need to keep my grounds for the garden.


I feel great now that it's all done.  I just have to keep it this way. Now when my friend comes to stay with me after I get home from hospital she'll have an easy time making a coffee.  Everything is handy and in a great spot.. Loving it

I guess my next job is the Fridge and bottom cupboards.  Don't know if I'm gonna get to that right away though.